
Why Silicone Sealant Is a Must-Have for Every Project
Silicone sealant is one of the most essential and versatile materials used across construction, renovation, and DIY projects. Known for its strong adhesion to a wide range of surfaces including glass, metal, wood, plastic, and concrete silicone creates a flexible, waterproof bond that stands the test of time. Whether you’re sealing windows and doors, installing bathroom fixtures, or protecting joints from water intrusion, silicone offers dependable performance in both residential and commercial environments.
One of the standout features of all-purpose silicone sealant is its ability to resist moisture, UV rays, extreme temperatures, and even the growth of mold and bacteria. These properties make it an ideal choice for kitchens, bathrooms, and outdoor applications where durability and hygiene matter most. Thanks to its permanent elasticity, it adapts to surface movement and expansion without cracking, ensuring a clean, long-lasting finish.
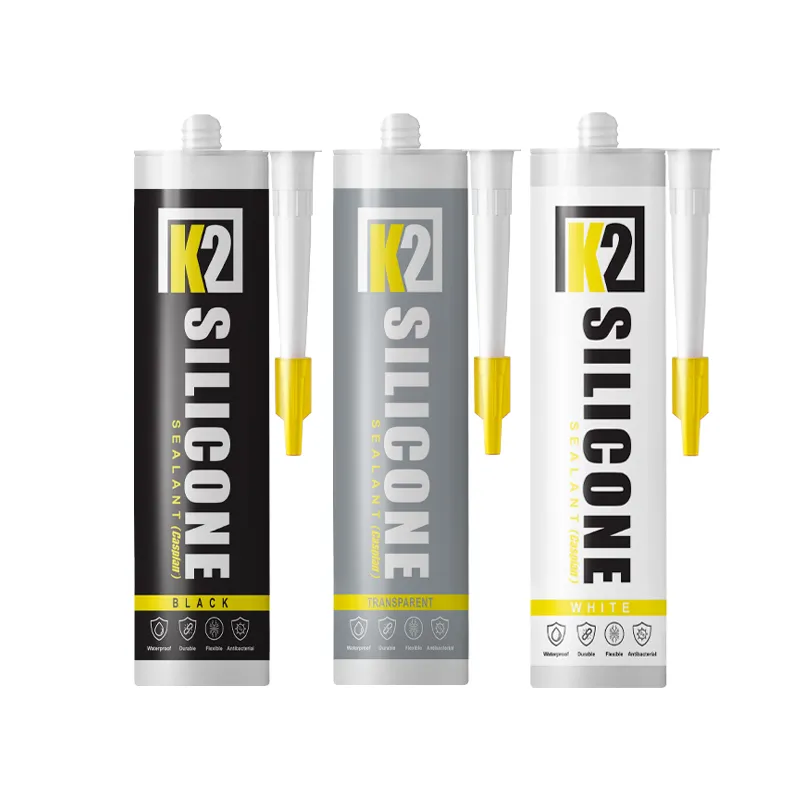
Applying silicone may seem tricky at first, but with the right technique, even beginners can achieve a professional result. Preparing a clean surface, cutting the nozzle at the right angle, and smoothing the bead with soapy water are key steps to getting a neat finish. Whether you’re a professional contractor or a first-time DIYer, a high-quality silicone sealant like K2 can make all the difference in protecting and finishing your projects with confidence.
Features:
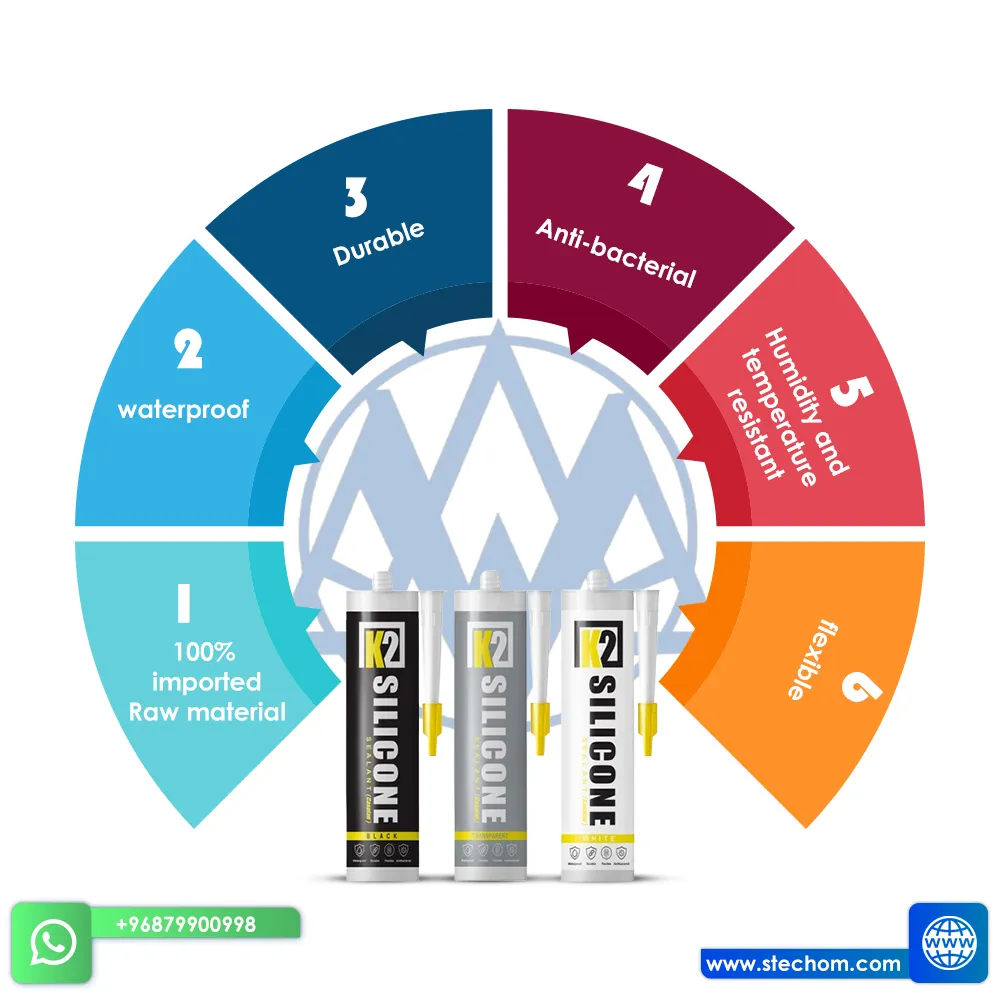
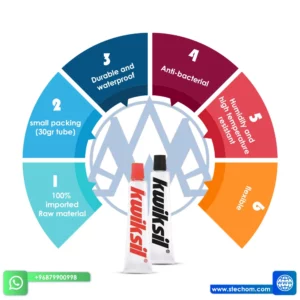
- 100% imported raw material: The product is made entirely from high-quality imported materials, ensuring superior performance and reliability.
- Durable: Designed to provide long-lasting performance, it maintains its integrity under various conditions.
- Waterproof: Resistant to water, making it ideal for applications exposed to moisture or direct water contact.
- Flexible: Offers excellent elasticity, allowing it to adapt to different surfaces and conditions without cracking.
- Anti-bacterial: Its formulation prevents the growth of bacteria, ensuring a hygienic and safe environment.
- Humidity and high temperature resistant: Designed to withstand both humid environments and high temperatures, ensuring its effectiveness in challenging conditions.
Applications:
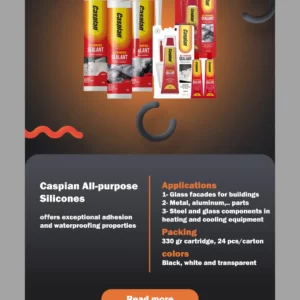
- Windows, doors, and glass facades: Perfect for sealing and fixing in both residential and commercial building projects.
- Kitchen and bathroom: Ideal for areas prone to moisture, ensuring long-lasting results and maintaining hygiene.
Packing:
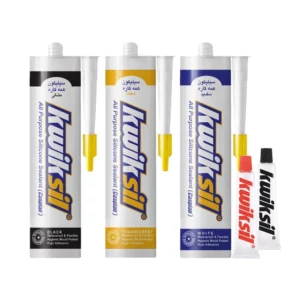
In 300 ml cartridges, 24 pcs/carton
Colors:
3 colors of white and transparent and black
To place an order for K2 Silicone Sealant All-Purpose from Summit Tech for Trading (DBA Alvand), click here.
How to Apply Silicone Sealant Around Sinks, Baths, and Glass – A Step-by-Step Guide
Applying silicone sealant correctly is key to achieving a watertight, hygienic, and long-lasting finish—especially in moisture-prone areas like bathrooms and kitchens. Whether you’re sealing around a sink, bathtub, or glass surface, the following steps will help you get professional results every time.
Step 1: Clean and Prepare the Surface
Start by ensuring the surface is completely clean, dry, and free of dust, grease, soap residue, or any old sealant. You can use rubbing alcohol, a mild detergent, or a commercial sealant remover if necessary. A properly prepared surface ensures better adhesion and a more durable seal.
Step 2: Cut the Nozzle and Load the Gun
Cut the tip of the silicone cartridge nozzle at a 45-degree angle, matching the size of the joint you’re sealing. The wider the cut, the thicker the bead will be. Insert the cartridge into a caulking gun and press until it’s secure and ready to use.
Step 3: Fill the Sink or Bath Before Sealing
For baths and sinks, partially fill them with water before sealing. This helps apply the correct pressure to the joints and prevents the sealant from pulling away once the basin is in use and filled again.
Step 4: Tape the Edges for Clean Lines
Apply painter’s tape or masking tape along both sides of the joint to ensure straight, clean edges. This is especially helpful for beginners and will give your sealant line a professional look.
Step 5: Apply the Silicone Bead
Hold the gun at a 45-degree angle and slowly apply a steady, even bead of silicone along the joint. Avoid stopping mid-line, and try to keep a consistent pressure on the trigger for a smooth application.
Step 6: Smooth the Sealant Line
Immediately after applying, use a wet finger or a finishing tool dipped in soapy water to smooth the bead. Lightly press into the joint while moving along the line to ensure full contact and a clean finish. Wipe off any excess with a damp cloth.
Step 7: Remove the Tape
Carefully peel away the masking tape before the silicone starts to cure. Removing it too late may cause the sealant to lift or smear. Do this step slowly for the best results.
Step 8: Let It Cure
After finishing, allow the silicone to cure fully as per the manufacturer’s instructions (usually 24 hours). If you filled the sink or bath earlier, now’s the time to drain it and let it return to its natural position. This helps maintain the integrity of the seal.
By following these simple steps, you can achieve a seamless, watertight seal that not only looks great but also extends the life of your bathroom or kitchen installations. For best results, always choose a high-quality, all-purpose silicone sealant like K2 specially formulated to resist moisture, mold, and high temperatures for lasting performance.


Reviews
There are no reviews yet.